How Long Does It Take to Create a Simple Map Animation in After Effects?
A detailed breakdown of the real time investment required to create map animations in After Effects. Learn why a simple 10-second zoom takes 1-3 hours and discover faster alternatives.
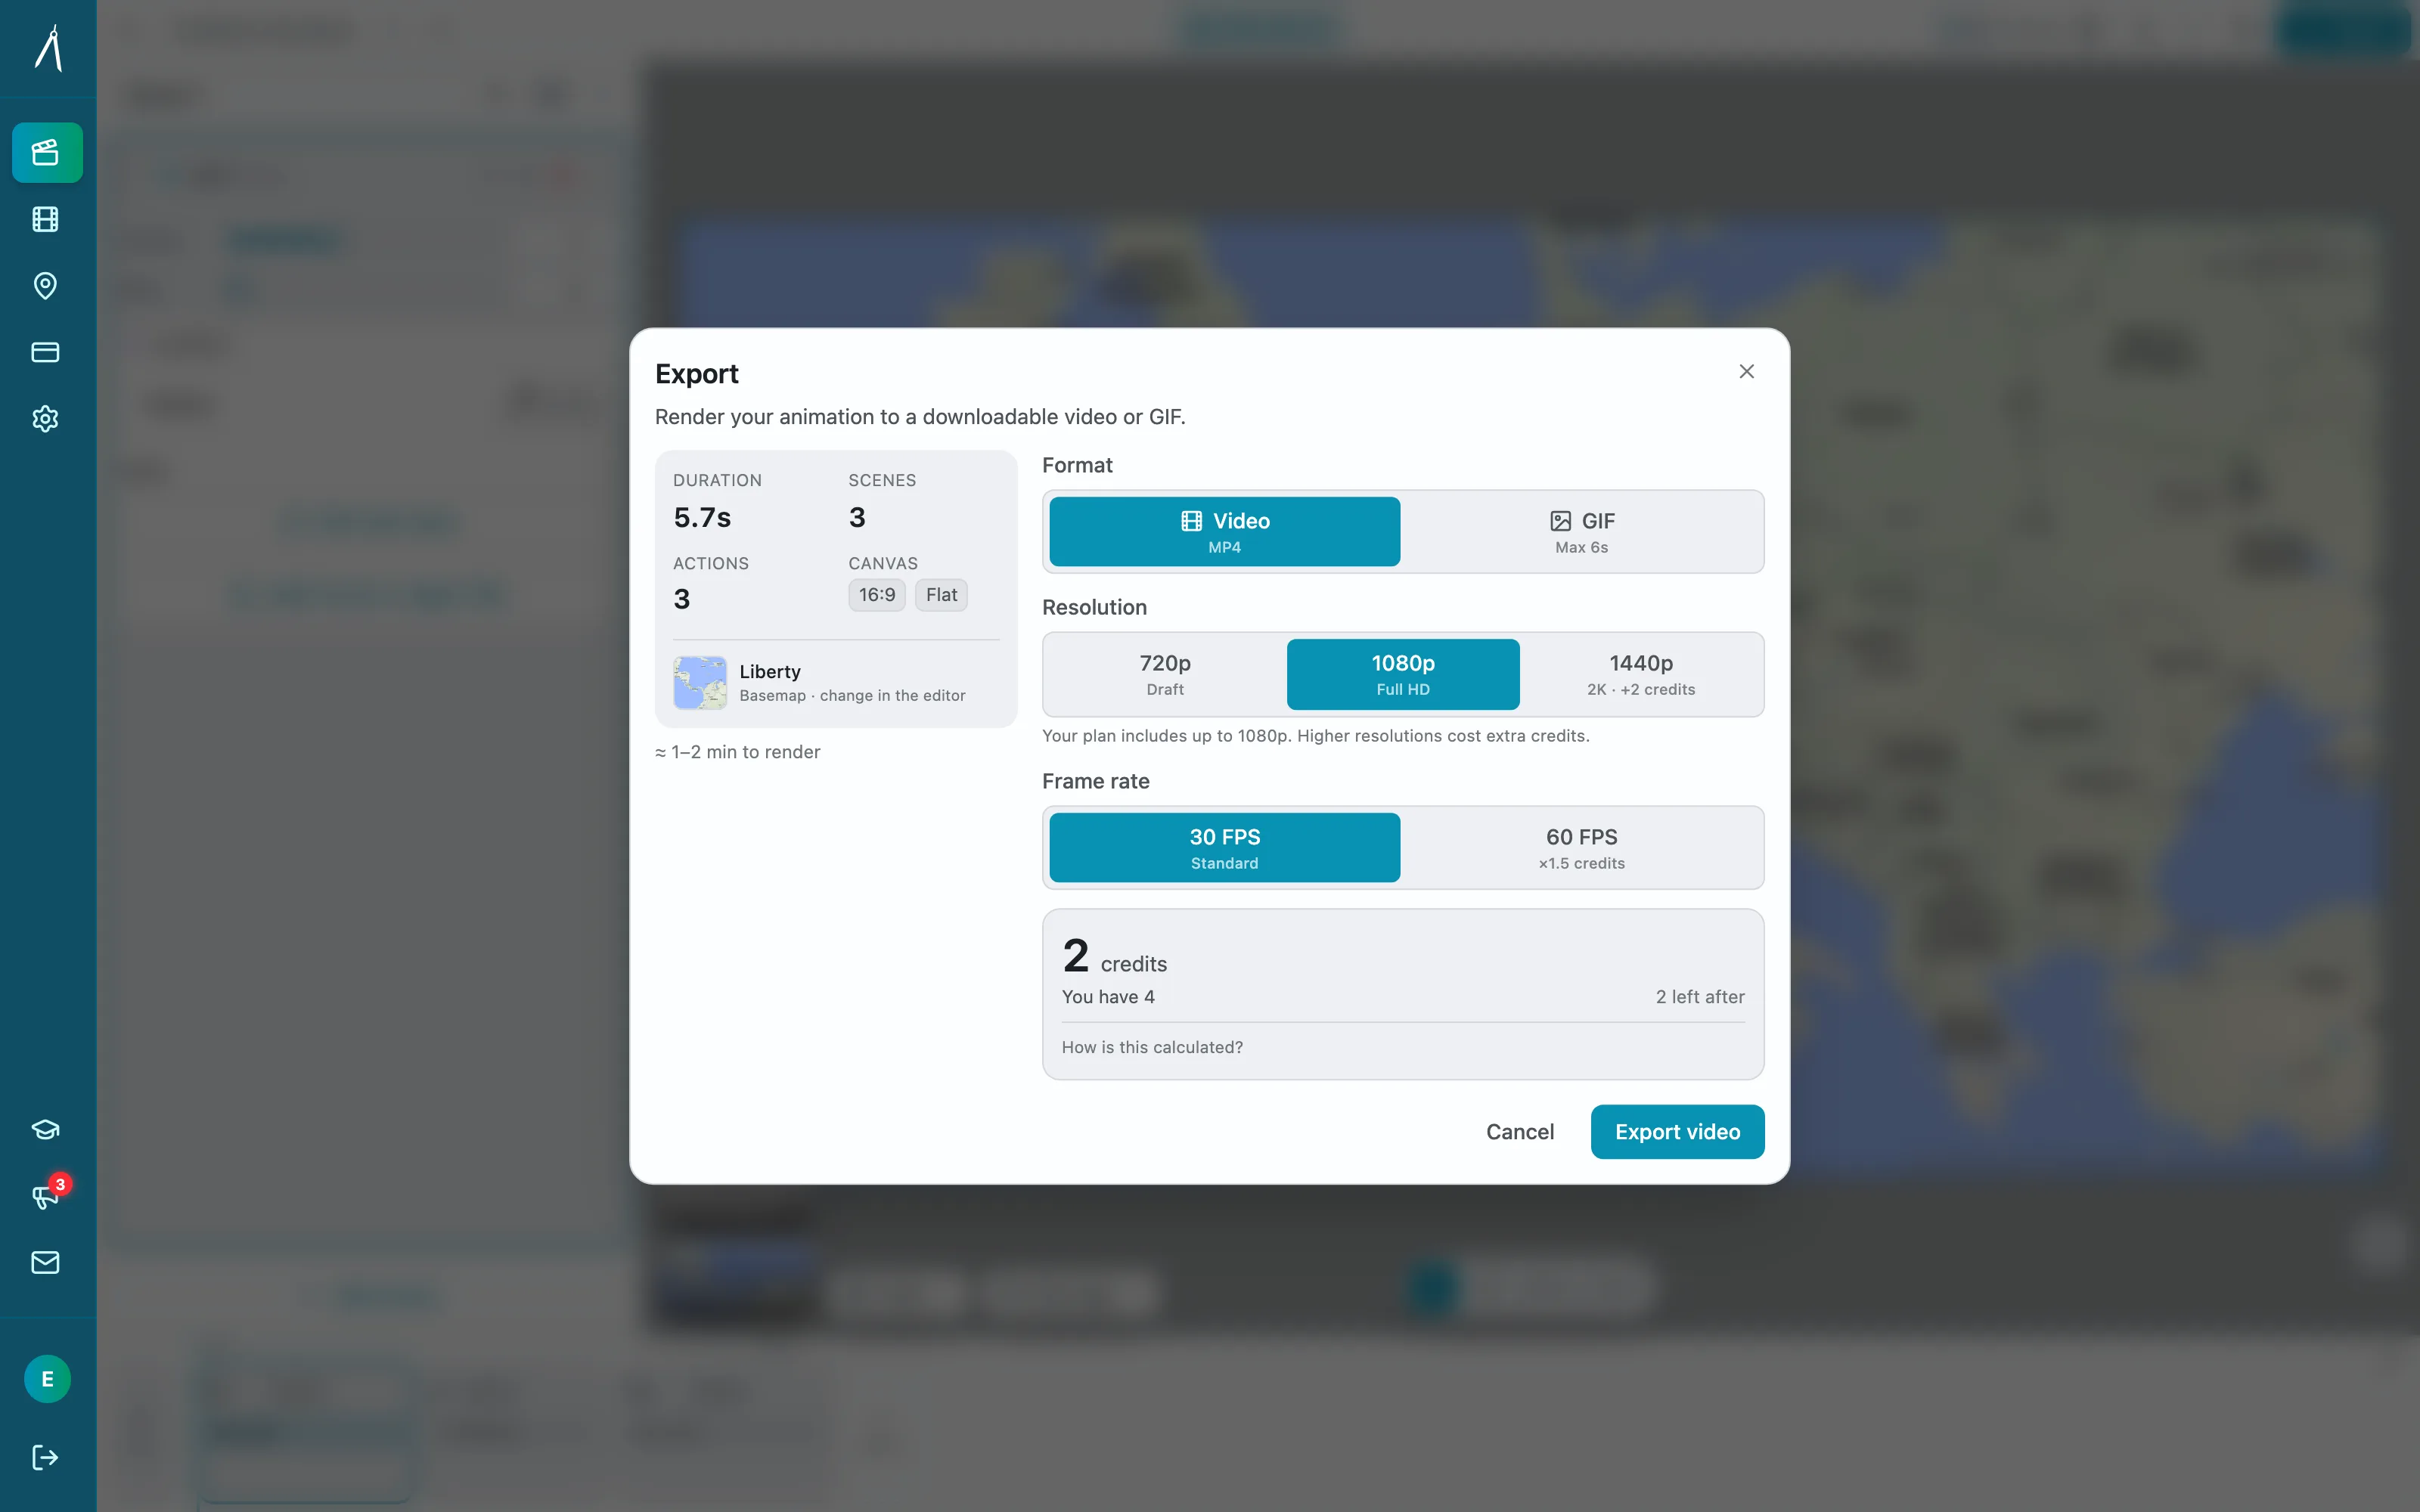
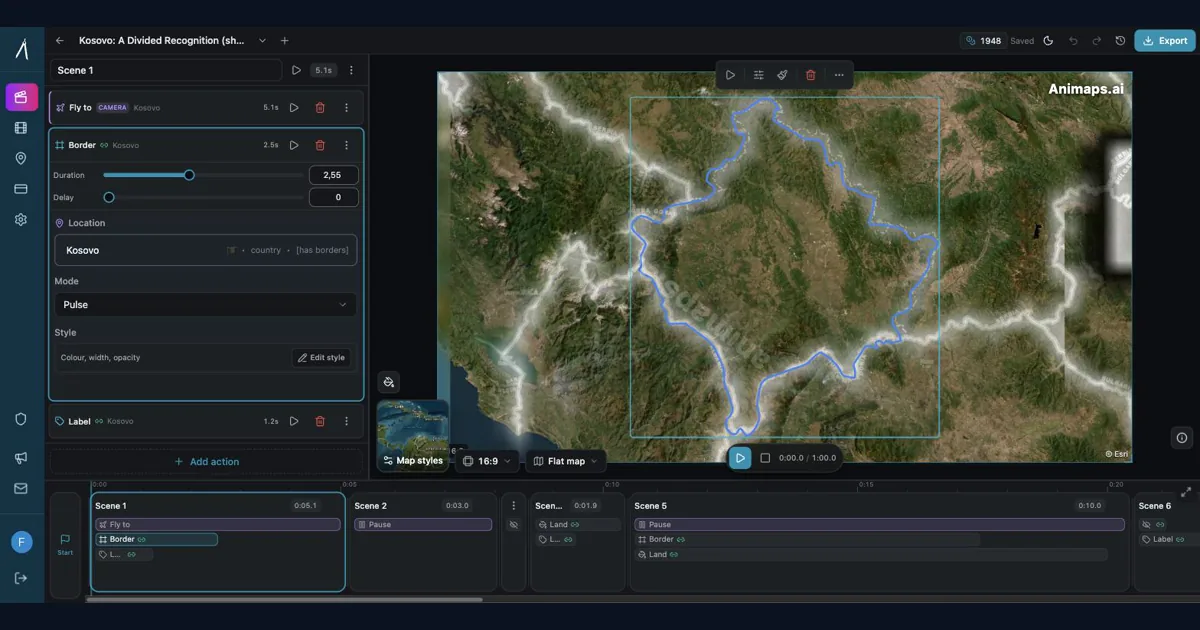
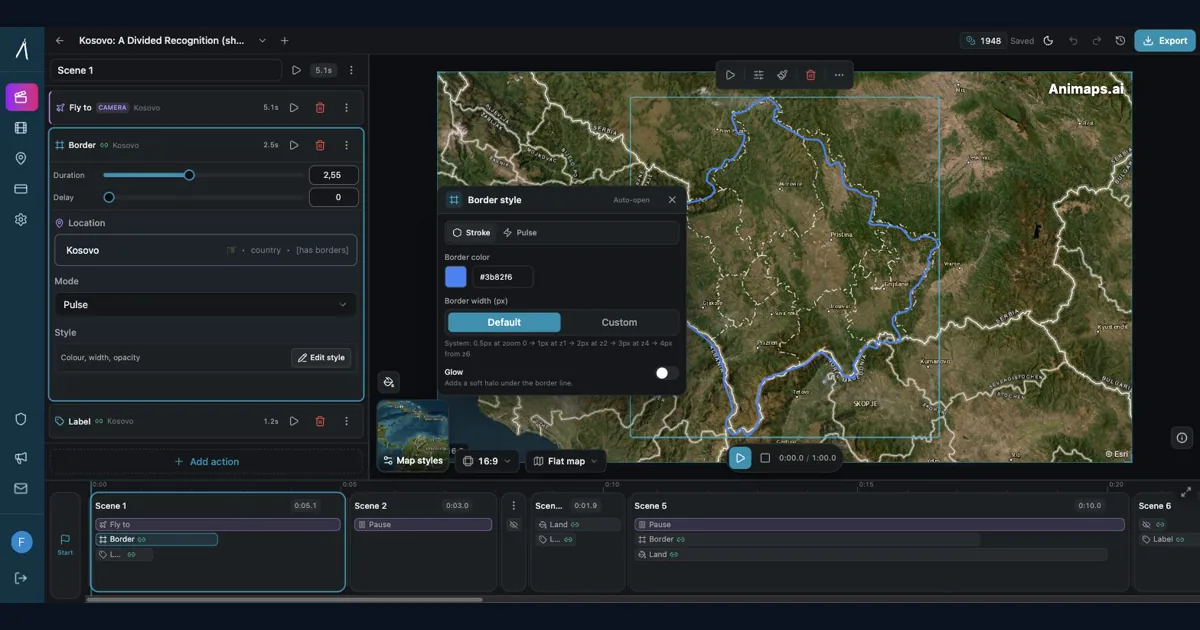
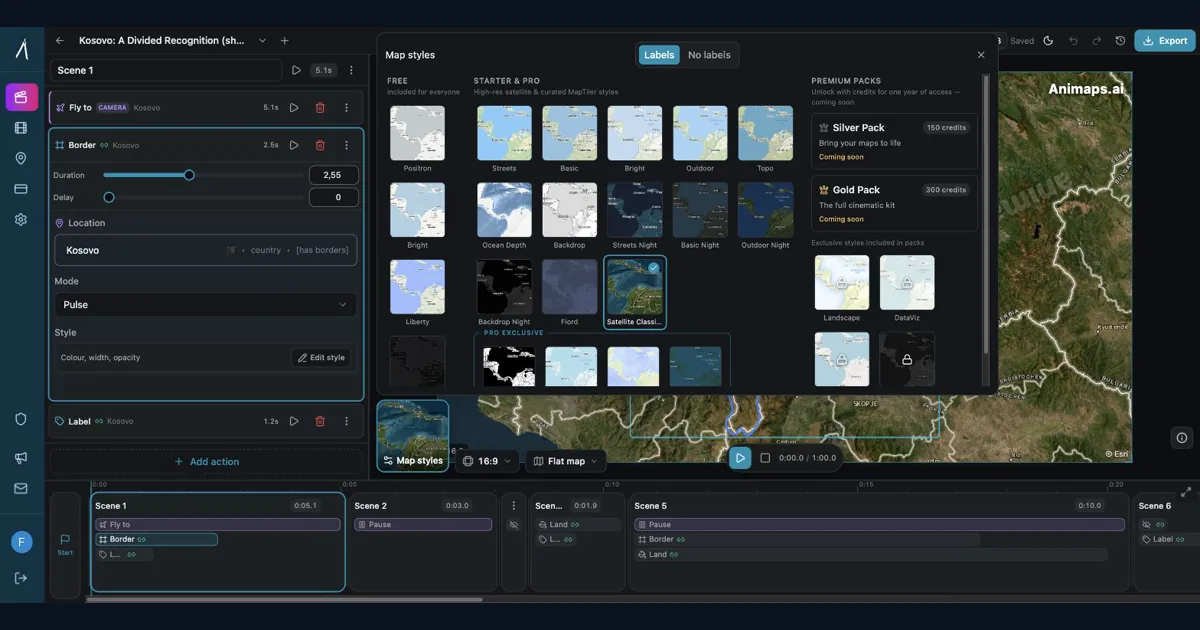
Preview & Editor advantage
Draft with AI prompts or templates, then refine every animation step in real time (zoom, opacity, border width, colors, bearing, tilt). Credits are used only when you render the final video.
Animaps Team
Content Creator
How Long Does It Take to Create a Simple Map Animation in After Effects?
Last updated: December 19, 2025
TL;DR
Creating a simple 10-second map zoom in After Effects takes 60-120 minutes for beginners and 45-75 minutes for experienced users. This includes screenshot collection (15-30 min), layer alignment (20-45 min), animation keyframing (10-20 min), and rendering (5-15 min). AI-powered tools like Animaps can create the same animation in 60-90 seconds using natural language commands.
Time breakdown:
- After Effects (beginner): 60-120 minutes total
- After Effects (experienced): 45-75 minutes total
- AI-powered tools: 60-90 seconds total
- Time savings: 40-120x faster with specialized tools
Related reading:
- Map animation maker hub: Create animated maps online
- Border animations: How to animate country borders on maps
- Comparison hub: Map animation maker alternatives
If you've ever tried to create a simple map zoom animation for your YouTube video, you know the answer isn't pretty: anywhere from 60-120 minutes - just for a basic 10-second map zoom.
Let's break down why this seemingly simple task becomes a time sink, and explore a better alternative that's emerged in 2025.
The After Effects Reality Check
Watch this tutorial by Mike from Mo Box Graphics showing the complete process of creating a map zoom animation in After Effects:
As you can see from the 13-minute tutorial (and that's explaining it, not actually doing it), even experienced editors face a surprisingly complex workflow.
The Hidden Complexity: Breaking Down the Real Timeline
Phase 1: Capturing Map Screenshots (20-40 minutes)
Before you even open After Effects, you need to gather your map images. Here's what Mike's tutorial reveals:
Screenshot Collection Process:
- Open Google Maps and navigate to your target location
- Switch to satellite view and disable labels
- Use Chrome's zoom feature to trick Google Maps into loading higher-resolution tiles
- Take 4-7 screenshots at progressively closer zoom levels
- Manually center each screenshot using the Google logo as a guide
- Use screen capture software (Gyazo or similar) for each frame
- Ensure each capture is at 100% zoom to preserve resolution
- Save each image individually
Pro tip from the tutorial: Zoom out in Chrome settings to force Google Maps to load higher-res imagery. But this makes the process even slower as tiles take longer to load.
Time investment: 20-40 minutes (depending on how many zoom levels you need and your internet speed)
Phase 2: Setting Up Your After Effects Project (5-10 minutes)
Basic Setup:
- Create new composition (1080p, your desired frame rate)
- Import all screenshot images
- Arrange layers in order (farthest zoom on bottom, closest on top)
- Set initial opacity to 50% for alignment purposes
- Create null objects for animation control
Phase 3: The Tedious Alignment Process (30-60 minutes)
This is where the tutorial gets revealing. Mike shows the painstaking manual process:
For EACH screenshot layer (multiply by 4-7 layers):
- Find a reference point - Identify a recognizable landmark (tip of a lake, peninsula edge, etc.)
- Move the anchor point - Use the Pan Behind tool (Y key) to position anchor point on that landmark
- Scale the layer - Manually scale up/down (sometimes to 1000%+) to match the previous layer
- Fine-tune position - Adjust X/Y coordinates pixel by pixel until landmarks align
- Add a mask - Create an elliptical mask around the visible area
- Add feather - Apply mask feather to blend edges (10-50px depending on layer)
- Parent to null object - Link to your animation controller
- Test transparency - Toggle back to 100% opacity and check alignment
- Repeat for next layer
The problem Mike mentions: Google Maps uses a globe projection, so when zoomed out, things don't line up perfectly with zoomed-in flat projections. You have to compensate manually.
Time investment: 30-60 minutes (more if you're learning the technique)
Phase 4: Animation Keyframing (15-30 minutes)
Now comes the actual animation part:
The Two-Null Control System:
- Mike uses two null objects for smoother control
- First null: Zoom from 87% to 2000%
- Second null: Additional zoom to final position
- Why two nulls? Single-null animations look "jarring and abrupt" according to the tutorial
- Apply easing curves to both nulls for smooth motion
- Test, adjust timing, test again...
Additional polish:
- Add HLS color correction to individual layers (satellite images taken at different times have different colors)
- Keyframe color adjustments as zoom progresses
- Add adjustment layer on top for:
- Noise texture (8% recommended for realism)
- Color balance tweaks
- Brightness/contrast adjustments
- Saturation reduction (to reduce "cartoony blue")
- Keyframe these effects to fade in/out during zoom
Time investment: 15-30 minutes (or more if you want custom timing)
Phase 5: Color Grading & Final Polish (10-20 minutes)
Mike's tutorial emphasizes making the disparate satellite images look cohesive:
- Individual layer color correction
- Global adjustment layer tweaking
- Noise overlay for texture consistency
- Fine-tuning saturation/brightness/contrast
- Preview renders to check quality
- Adjustments based on preview
Phase 6: Rendering (5-15 minutes)
- Configure export settings
- Render time varies by complexity and hardware
- Check output, potentially re-render if issues found
The REAL Time Investment
Tutorial runtime: 13 minutes Actual execution time for a beginner: 60-120 minutes For an experienced After Effects user: 45-75 minutes
And that's for a basic zoom animation with no labels, no flags, no highlights, no custom elements.
What the Tutorial Doesn't Tell You
The Prerequisites
Mike's tutorial assumes you already know:
- After Effects interface and workspace
- Layer management and parenting
- Keyframe animation basics
- Masking and feathering
- The Pan Behind tool
- Color correction workflows
- When and how to use null objects
If you're learning from scratch? Add another 3-5 hours watching beginner tutorials before attempting this.
The Technical Requirements
- After Effects subscription: $25/month minimum (Creative Cloud)
- Screen capture software: Gyazo, Snagit, or similar
- High-resolution monitor: Mike uses 1440p (2560×1440) to get extra pixels for repositioning
- Decent computer: Preview rendering is "slow" even on good machines, according to the tutorial
- Fast internet: For loading high-res Google Maps tiles
The Legal Gray Area
Mike mentions: "I'm not sure of what the usage rights are for Google Maps but this is just for educational purposes. If you're using this in a professional project you probably want to use some one of the more professional versions of Google Maps."
So for commercial use, you need:
- Google Maps Platform license (starts at $200/month for video usage)
- Or purchase map imagery from other providers
- Or use royalty-free map assets
Add licensing complexity and potential costs to your timeline.
Why This Process Is So Painful
The Fundamental Mismatch
After Effects is designed for:
- ✅ Frame-by-frame animation control
- ✅ Complex motion graphics
- ✅ Custom compositing
- ✅ Unlimited creative possibilities
What you actually need for a map zoom:
- ❌ "Zoom from North America to Niagara Falls"
- ❌ Smooth camera movement
- ❌ Professional output
That's it. You're using a Formula 1 race car to drive to the grocery store.
The Manual Labor Problem
Every step requires human decision-making:
- Which landmark should I use as reference?
- How much should I scale this layer?
- Is this aligned properly?
- How much feather looks natural?
- What color correction makes these match?
You're doing the job of a computer manually.
The Cost-Benefit Analysis
Let's calculate what this "simple" map zoom actually costs:
After Effects Approach:
- Software: $25/month (Creative Cloud)
- Screen capture software: $0-30 (one-time)
- Learning time: 3-5 hours (first time)
- Execution time: 90-180 minutes per animation
- Computer requirements: $1000+ machine for smooth performance
- Google Maps licensing: $0 (educational) or $200+/month (commercial)
For a YouTube creator making 4 videos/month with map intros:
- Monthly software: $25
- Time per video: 60-90 minutes average
- Monthly time investment: 4-6 hours
- At $30/hour equivalent: $120-180/month in time
- Total monthly cost: $145-205
First animation (including learning): ~3-4 hours = $90-120 in time + $25 software = $115-145
The 2025 Alternative: AI-Powered Simplicity
This exact problem is why Animaps exists.
Watch a North American animation of the same shape — find the place, highlight it, move the camera — built in about a minute:
How It Actually Works
Instead of the 6-phase manual process, you type:
"Show North America, then zoom to Niagara Falls"
The AI handles:
- ✅ Finding the location automatically
- ✅ Generating smooth zoom levels
- ✅ Calculating proper easing curves
- ✅ Ensuring consistent visual quality
- ✅ Rendering professional output
Time invested: 30 seconds to type + 30 seconds to export = 60 seconds total
No screenshots. No alignment. No masking. No color correction. No null objects.
Feature-by-Feature Comparison
| Task | After Effects | Animaps |
|---|---|---|
| Find map imagery | 15-30 min (manual screenshots) | Automatic |
| Align layers | 20-45 min (manual positioning) | Automatic |
| Create zoom animation | 10-20 min (keyframes + easing) | Automatic |
| Color correction | 5-15 min (manual adjustments) | Automatic |
| Add highlights/labels | 15-30 min (shape layers + text) | Type it: "highlight Paris" |
| Add country flags | 20-40 min (source images, position, animate) | Type it: "show French flag" |
| Total time | 60-120 minutes | 60-90 seconds |
| Learning curve | 3-5 hours | None |
| Software cost | $25-250/month | $0-19/month |
Real-World Use Cases
Travel Vloggers
Mike's After Effects Method:
- 60-90 minutes creating zoom to Niagara Falls
- Repeat for each destination in your video
- If your video covers 5 locations: 5-7.5 hours
Animaps:
"Show North America, zoom to Niagara Falls, then zoom to Toronto, then Montreal, then Quebec City, then back out to show all locations highlighted"
Time: 2-3 minutes
Educational Content
After Effects:
- Want to show all G7 countries with flags?
- Take 7 screenshots of each country
- Align all layers
- Source 7 flag images
- Position and animate each flag
- Total: 2.5-4 hours
Animaps:
"Highlight G7 countries and display their flags"
Time: 60-90 seconds
News/Commentary Channels
After Effects:
- Showing conflict zones or regions in the news
- Multiple zoom levels required
- Labels and highlights needed
- Different maps needed for each story
- Time: 60-90 minutes per map
Animaps:
"Zoom to Middle East, highlight Syria, show neighboring countries"
Time: 60-90 seconds
When You Still Need After Effects
Let's be honest - After Effects isn't obsolete. You still need it for:
Complex Custom Work
- Heavily branded animations with specific style guides
- 3D camera movements beyond geographic zoom
- Custom data visualization overlays
- Integration with other VFX elements
- Client work requiring granular revision control
Mike's Tutorial Is Valuable For:
- Understanding how map projections work
- Learning professional color grading techniques
- Mastering null object animation control
- Building custom map animation systems for unique needs
The Hybrid Workflow (Best of Both Worlds)
Smart creators now use this approach:
- Generate base map animation in Animaps (60-90 seconds)
- Export as MP4 (1080p 60fps)
- Import to After Effects if you need:
- Custom branded overlays
- Specific typography treatments
- Integration with other footage
- Client-specific styling requirements
This gives you 80% of Mike's result in 2% of the time, with the option to enhance if needed.
The "But I Want to Learn After Effects" Argument
Valid point! After Effects is an incredible skill to have.
But consider:
- Mike's tutorial is 13 minutes explaining just map zooms
- The full After Effects learning curve is 40-60 hours
- You'll rarely need this specific technique
- Your time might be better spent learning other AE skills (titles, transitions, compositing)
Use Animaps for maps. Use After Effects for everything else.
Try It Yourself: The Challenge
Recreate Mike's Niagara Falls zoom animation:
After Effects Method (following Mike's tutorial):
- Capture 5-7 Google Maps screenshots at different zoom levels
- Import into After Effects
- Align all layers using anchor points
- Add masks and feathering to each layer
- Create two null objects for smooth zoom control
- Keyframe scale on both nulls
- Apply easing curves
- Add color correction to match satellite image variations
- Add noise and adjustment layers for polish
- Render output
Estimated time: 60-90 minutes (first time)
Animaps Method:
"Zoom to North America, then zoom to Niagara Falls"
Estimated time: 60 seconds
Try Animaps Free - No Credit Card Required
Both produce professional 1080p 60fps output. One takes 2 hours. One takes 1 minute.
Frequently Asked Questions
Q: Is the quality actually comparable? A: Yes. Both output 1080p 60fps with smooth easing curves. Mike's method gives you more manual control for custom styling, but for standard map zooms, the output is essentially identical.
Q: What about the Google Maps licensing issue Mike mentioned? A: Animaps uses properly licensed map data (MapLibre GL JS with OpenStreetMap data), so there are no licensing concerns for commercial use. This alone saves you the $200+/month Google Maps Platform fee.
Q: Can I still add custom effects after? A: Yes! Export from Animaps and import into After Effects. You get the base animation done instantly, then add your custom touches if needed.
Q: What if I need something really custom that Animaps doesn't support? A: Then Mike's tutorial is your answer. For 5% of use cases, the manual method is still necessary. For 95% of creators, it's overkill.
Q: Doesn't After Effects give me more control? A: Absolutely. But do you need that control? Mike spent 30-60 minutes just aligning layers. That's not creative control - that's tedious technical work. Save your creative energy for actual creative decisions.
The Bottom Line
Mike's tutorial is excellent - it teaches you exactly how to create professional map zoom animations in After Effects. The technique is solid, the results are good, and you learn valuable AE skills.
But it also perfectly illustrates the problem:
A 13-minute tutorial explaining a 60-90 minute process to create a 10-second animation.
That's not a workflow problem. That's a tool mismatch problem.
The Real Questions to Ask Yourself:
- ❌ "Can After Effects do this?" (Yes, obviously)
- ❌ "Should I learn After Effects?" (Maybe, for other things)
- ✅ "Is this the best use of my time?"
- ✅ "What could I create with those 2 hours instead?"
For most creators:
- Those 60-90 minutes could be spent scripting better content
- Recording additional footage
- Improving your storytelling
- Actually editing your video
- Learning skills that differentiate you (not everyone needs to be an AE expert)
The Efficiency Revolution
2015-2024: Map animations required technical skills 2025: Map animations require clear communication
You've always been able to describe what you want: "Zoom from here to there."
Now tools finally exist that understand that description.
Ready to reclaim those 60-90 minutes per video? Start creating map animations in seconds →
Free tier includes up to 3 animations/month. No credit card required. Professional output quality. No After Effects learning curve.
Why Animaps Wins for Map Animations
The time breakdown above reveals why specialized tools like Animaps provide better value for most creators:
Time efficiency: Animaps creates map animations in 60-90 seconds compared to 60-120 minutes in After Effects. This 40-120x speed difference means creators can produce 60-120 animations in the time it takes to create one in After Effects.
No manual setup required: After Effects requires 15-30 minutes just to collect and prepare map screenshots. Animaps automatically handles location finding, map tile generation, and image preparation.
Eliminates alignment work: The most time-consuming After Effects step (20-45 minutes of layer alignment) is completely automated in Animaps, which handles coordinate systems and map projections automatically.
No learning curve: After Effects requires 3-5 hours of learning before attempting map animations. Animaps requires zero learning—users describe what they want in natural language.
Cost effectiveness: For creators making 4 animations per month, After Effects costs $25/month plus 4-6 hours of time. Animaps costs $0-19/month with 4-6 minutes of time investment.
Professional output: Both tools produce 1080p 60fps output with smooth easing curves. The quality is comparable, but Animaps achieves it in a fraction of the time.
The data clearly shows that for creators who need map animations regularly, specialized tools like Animaps deliver professional results 40-120x faster than the general-purpose After Effects approach.
Related Articles:
Keywords: after effects map animation, how to animate maps, geographic animation tutorial, map animation time, after effects alternative, AI map animation, animated maps for youtube, google maps animation, map zoom tutorial, mo box graphics
Tags
Related reading
After Effects for Map Animations: Is the 150-Hour Learning Curve Worth It?
You're considering After Effects for map animations. YouTube tutorials make it look doable. But here's what they don't tell you: most creators spend 150+ hours before they can create a simple map zoom confidently. Is that investment worth it? Let's break down the real costs—time, money, and opportunity—so you can make an informed decision.
Animaps vs After Effects: Which Tool Should You Choose for Map Animations?
You're choosing between Animaps and After Effects for map animations. Both create professional results, but they're designed for completely different users. Animaps takes 60 seconds to 10 minutes per animation with zero learning curve. After Effects takes 45-90 minutes per animation after a 150-hour learning investment. This comparison examines time, costs, features, and use cases to help you decide.
Best AI Map Animation Tools Compared (2026)
Most AI map tools work the same way: type a prompt, render, hope it's good. Animaps is the only tool with a full interactive preview and step editor — so you see and edit every frame before spending credits. This guide compares the 5 leading map animation tools to help you choose.
Browse every article in the Animaps blog.